Welcome to the Oster Oven Toaster Manual! This guide provides essential information to help you understand and optimize your appliance’s performance. Discover its features, safety tips, and troubleshooting solutions to ensure a seamless cooking experience.

Welcome and Purpose of the Manual
Welcome to the Oster Oven Toaster Manual! This manual is designed to help you make the most of your Oster Oven Toaster, ensuring a safe and enjoyable cooking experience. Inside, you’ll find detailed instructions for installation, operation, and maintenance, as well as tips for troubleshooting common issues. Whether you’re baking, toasting, or broiling, this guide will walk you through every step to help you achieve perfect results every time. Let’s get started and unlock the full potential of your Oster Oven Toaster!
Overview of the Oster Oven Toaster
The Oster Oven Toaster is a versatile and efficient kitchen appliance designed to simplify your cooking routine. With its advanced features like convection baking, digital temperature control, and large capacity, it allows you to toast, bake, broil, and more with ease. This countertop oven combines the functionality of a traditional oven with the convenience of a toaster, making it perfect for preparing delicious meals, snacks, and desserts. Its sleek design and user-friendly interface ensure a seamless cooking experience for home chefs of all skill levels.
Key Features of the Oster Oven Toaster
The Oster Oven Toaster offers a sleek design, convection baking, digital temperature control, and an extra-large capacity. Its LED display and intuitive controls ensure precise cooking and toasting.
Key Components and Parts
The Oster Oven Toaster includes essential components for efficient cooking. The removable wire rack allows for easy food placement and cleanup, while the durable baking tray ensures even heating. The control panel features intuitive buttons for selecting functions like toasting, baking, and broiling. A clear LED time display helps you monitor cooking progress. Additional components include a crumb tray for mess-free toasting and a heat-resistant handle for safe operation. These parts work together to enhance your cooking experience.
Control Buttons and Functions
The Oster Oven Toaster features a user-friendly control panel with buttons for precise operation. The function buttons allow you to select modes like toasting, baking, or broiling. Adjust cooking time and temperature using the timer and temperature control buttons. A convection button enhances airflow for even cooking. The start/stop button provides easy control, while the cancel button lets you pause or stop the cooking process. These intuitive controls ensure versatility and convenience for all your cooking needs.
Removable Wire Rack and Tray
The removable wire rack and tray are essential components of your Oster Oven Toaster, designed for convenience and versatility. The rack allows for optimal air circulation, ensuring even cooking and browning. It is adjustable, accommodating various sizes of dishes and cooking needs. The tray is durable and easy to clean, catching crumbs and spills for mess-free cooking. Both are dishwasher-safe, making maintenance straightforward. These features enhance your cooking experience, whether you’re toasting, baking, or broiling, ensuring precise results every time.
Time Display and Thermal Control
The Oster Oven Toaster features a clear time display and precise thermal control, allowing you to monitor and adjust cooking settings effortlessly. The digital display shows the selected time and temperature, ensuring accuracy for toasting, baking, or broiling. The thermal control enables consistent heat distribution, guaranteeing even cooking results. With adjustable temperature settings, you can customize the heat level to suit your recipes, from crispy toast to perfectly baked dishes. These features make it easy to achieve professional-quality outcomes in the comfort of your home.

Installation and Setup
Properly unpack and place your Oster Oven Toaster on a stable, heat-resistant surface. Plug it into a grounded outlet and follow first-time setup instructions for optimal performance.
Unpacking and Placement Guidelines
When unpacking your Oster Oven Toaster, carefully remove all components and ensure no damage occurred during shipping. Place the appliance on a flat, stable, heat-resistant surface, away from water sources or flammable materials. Avoid overcrowding the area to ensure proper ventilation. Position the oven at least 4 inches away from walls or other objects to prevent overheating. Do not place it near open flames or extreme heat sources. Ensure the power cord is accessible and not near hot surfaces. Follow these guidelines to ensure safe and efficient operation.
First-Time Setup and Preparation
Before using your Oster Oven Toaster for the first time, wash the removable wire rack and tray with warm soapy water and dry thoroughly. Plug in the appliance and allow it to preheat at the highest temperature setting for 10 minutes to eliminate any manufacturing odors. Ensure all components are properly assembled and the oven is placed on a stable surface. Avoid using abrasive cleaners on the exterior, as they may damage the finish. Once prepared, your oven is ready for its first use. Always refer to the user manual for detailed guidance.
Operating Your Oster Oven Toaster
Explore the versatile functions of your Oster Oven Toaster, from toasting and baking to broiling. Adjust the timer and temperature controls to suit your cooking needs, ensuring perfectly cooked meals every time. The removable wire rack and tray add convenience, while the easy-to-use interface makes operation straightforward. Follow the manual’s guidance to optimize performance and enjoy a variety of delicious dishes with ease.
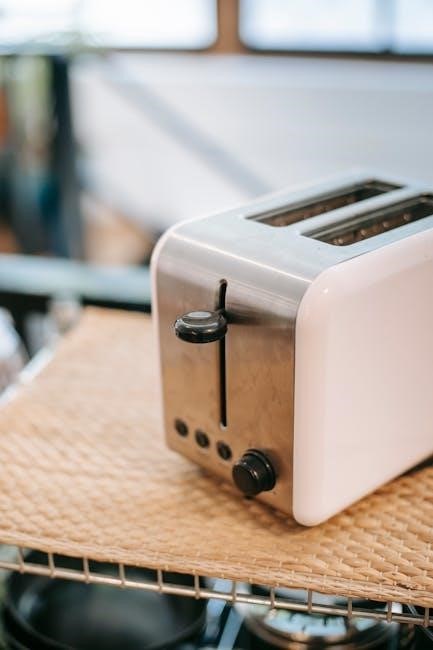
Basic Functions: Toasting, Baking, and Broiling
Your Oster Oven Toaster is designed to perform three essential functions with ease: toasting, baking, and broiling. For toasting, simply place your bread slices in the oven and select the desired browning level. Baking allows you to cook a variety of dishes, from pastries to casseroles, by setting the temperature and timer according to your recipe. Broiling is perfect for achieving a crispy finish on meats or vegetables. Use the control buttons to switch between functions and adjust settings for precise results. The removable wire rack and tray provide added convenience for these tasks. Always preheat the oven before baking or broiling for the best outcomes. Follow the manual’s guidelines to master these functions and enjoy perfectly cooked meals.
Using the Timer and Temperature Controls
The Oster Oven Toaster features intuitive timer and temperature controls for precise cooking. Adjust the temperature using the digital display, ranging from 150°F to 450°F. Set the timer up to 60 minutes for toasting, baking, or broiling. Use the control buttons to select your desired settings and start cooking. Preheating is quick and efficient, ensuring even heat distribution. Always monitor the timer to avoid overcooking. refer to the manual for specific guidelines on temperature and timing for different cooking functions. This ensures optimal results for every dish.

Safety Precautions
Always unplug the toaster oven before cleaning and avoid using metal utensils. Keep children away while in use and never leave it unattended during operation.
General Safety Guidelines
Ensure your safety while using the Oster Oven Toaster by following essential precautions. Always unplug the appliance before cleaning and avoid using metal utensils, as they can cause scratches or electrical issues. Keep children away from the oven while it is in operation. Never leave the toaster oven unattended during cooking, as overheating can occur. Use oven mitts or tongs to handle hot racks or trays. Avoid placing flammable materials near the appliance and keep the area well-ventilated. Regularly monitor the oven’s temperature and operation to ensure safe and efficient cooking.
Important Warnings and Restrictions
Adhere to these critical guidelines to ensure safe operation of your Oster Oven Toaster. Never insert metal utensils or foreign objects into the appliance, as this can cause electrical shock or damage. Keep the oven out of reach of children and avoid placing it near flammable materials or water sources. Do not operate the appliance if it is damaged or malfunctioning. Always follow the recommended temperature and timing guidelines to prevent overheating. Avoid modifying the oven’s design or using unauthorized accessories, as this may void the warranty or pose safety risks.

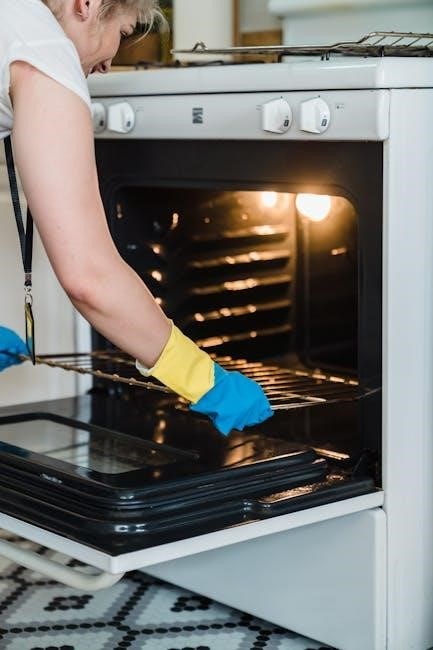
Cleaning and Maintenance
Regularly clean your Oster Oven Toaster by unplugging it, letting it cool, and wiping surfaces with a damp cloth. Avoid abrasive materials and harsh chemicals to maintain its finish and functionality.
Step-by-Step Cleaning Instructions
- Unplug the oven and let it cool completely to avoid burns or damage.
- Wipe the exterior and interior with a damp cloth, focusing on food residue areas.
- Remove the wire rack and tray, washing them with mild soap and warm water.
- For tough stains, mix baking soda and water to create a paste, applying it to affected areas before rinsing.
- Avoid using abrasive cleaners or metal scourers to prevent scratching the surfaces.
- Dry all parts thoroughly to prevent water spots and ensure proper function.
- Regular cleaning helps maintain efficiency and prevents food buildup.
Maintenance Tips for Longevity
Regular maintenance ensures your Oster Oven Toaster performs optimally and lasts longer. Always unplug the appliance before cleaning or performing maintenance. Check for food residue and clean it promptly to prevent buildup. Avoid using abrasive cleaners or scourers, as they can damage surfaces. After first-time use, run the oven empty at its highest temperature setting for 10 minutes to eliminate any manufacturing odors. Store the appliance in a dry place, and cover it when not in use to protect from dust. Perform deep cleaning periodically for consistent performance.
Troubleshooting Common Issues
Identify and resolve common issues with your Oster Oven Toaster by checking power supply, ensuring proper control settings, and consulting the user manual for detailed solutions.
Diagnostic Tips and Solutions
Troubleshooting your Oster Oven Toaster starts with identifying common issues like uneven toasting or the oven not turning on. Check the power supply, ensure controls are set correctly, and verify timer functionality. For uneven cooking, adjust food placement and ensure proper ventilation. Clean the heating elements and racks regularly to maintain performance. If issues persist, consult the user manual or contact customer support for assistance. Regular maintenance and adherence to safety guidelines can prevent many problems and extend the appliance’s lifespan.
- Power issues? Ensure the plug is securely connected.
- Uneven toasting? Adjust rack positions and food arrangement.
- Display malfunction? Reset the oven by unplugging and replugging it.
Congratulations! Your Oster Oven Toaster is now ready to elevate your culinary skills. Follow the manual’s guidelines for optimal performance, safety, and longevity. Happy cooking!
Final Tips for Optimal Use
- Always preheat your Oster Oven Toaster before cooking for consistent results.
- Use the adjustable temperature control to customize settings for baking, toasting, or broiling.
- Clean the appliance regularly to maintain performance and prevent food residue buildup.
- Refer to the manual for specific guidelines on cooking times and temperatures for various dishes.
- Store the oven in a cool, dry place when not in use to ensure longevity.